Install Python (Windows, Mac, Linux) – Step-by-Step Guide (2025)
If you’re ready to start coding, your first task is to install Python correctly. This quick guide explains how to download, set up, and verify Python on Windows, macOS, and Linux. Additionally, the instructions are simple and beginner-friendly, so you can follow them even if this is your first time working with code.
![]()
Why You Should Install Python (Benefits)
Python is a flexible programming language used for automation, scripting, web apps, and data analysis. It is easy to learn, and it has a clean syntax. Therefore, many beginners choose Python as their first language. In addition, major companies like Google and Netflix rely on Python daily.
Furthermore, Python has one of the largest developer communities. As a result, when you run into a problem, you can quickly find solutions on Stack Overflow, GitHub, or official documentation.
Install Python on Windows (Step-by-Step)
Follow these steps to install Python on Windows 10 or Windows 11. Additionally, the screenshots below help you verify each step.

- Go to python.org/downloads/windows.
- Click Download Python.
- Run the installer and enable Add Python to PATH.
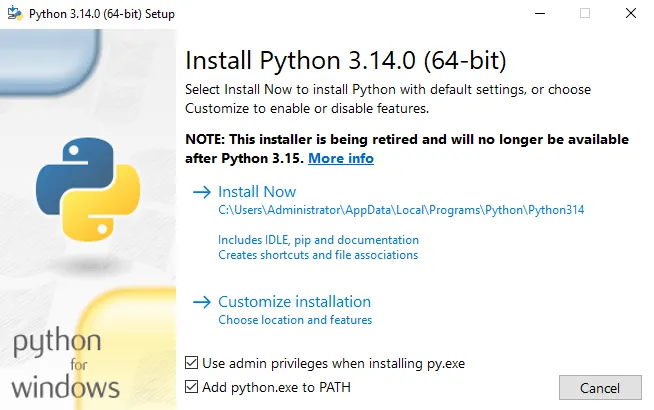
- Click Install Now and wait for it to finish.
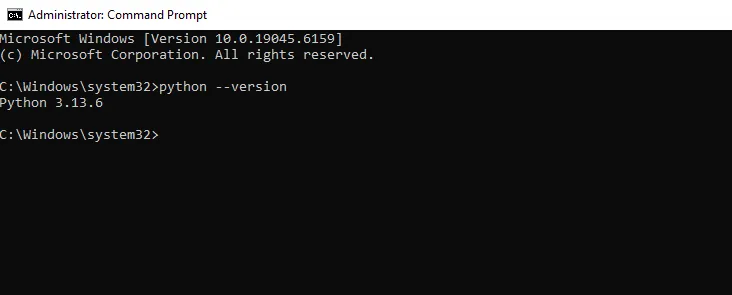
- Open Command Prompt and type:
python --version.
Install Python on macOS (Updated Guide)
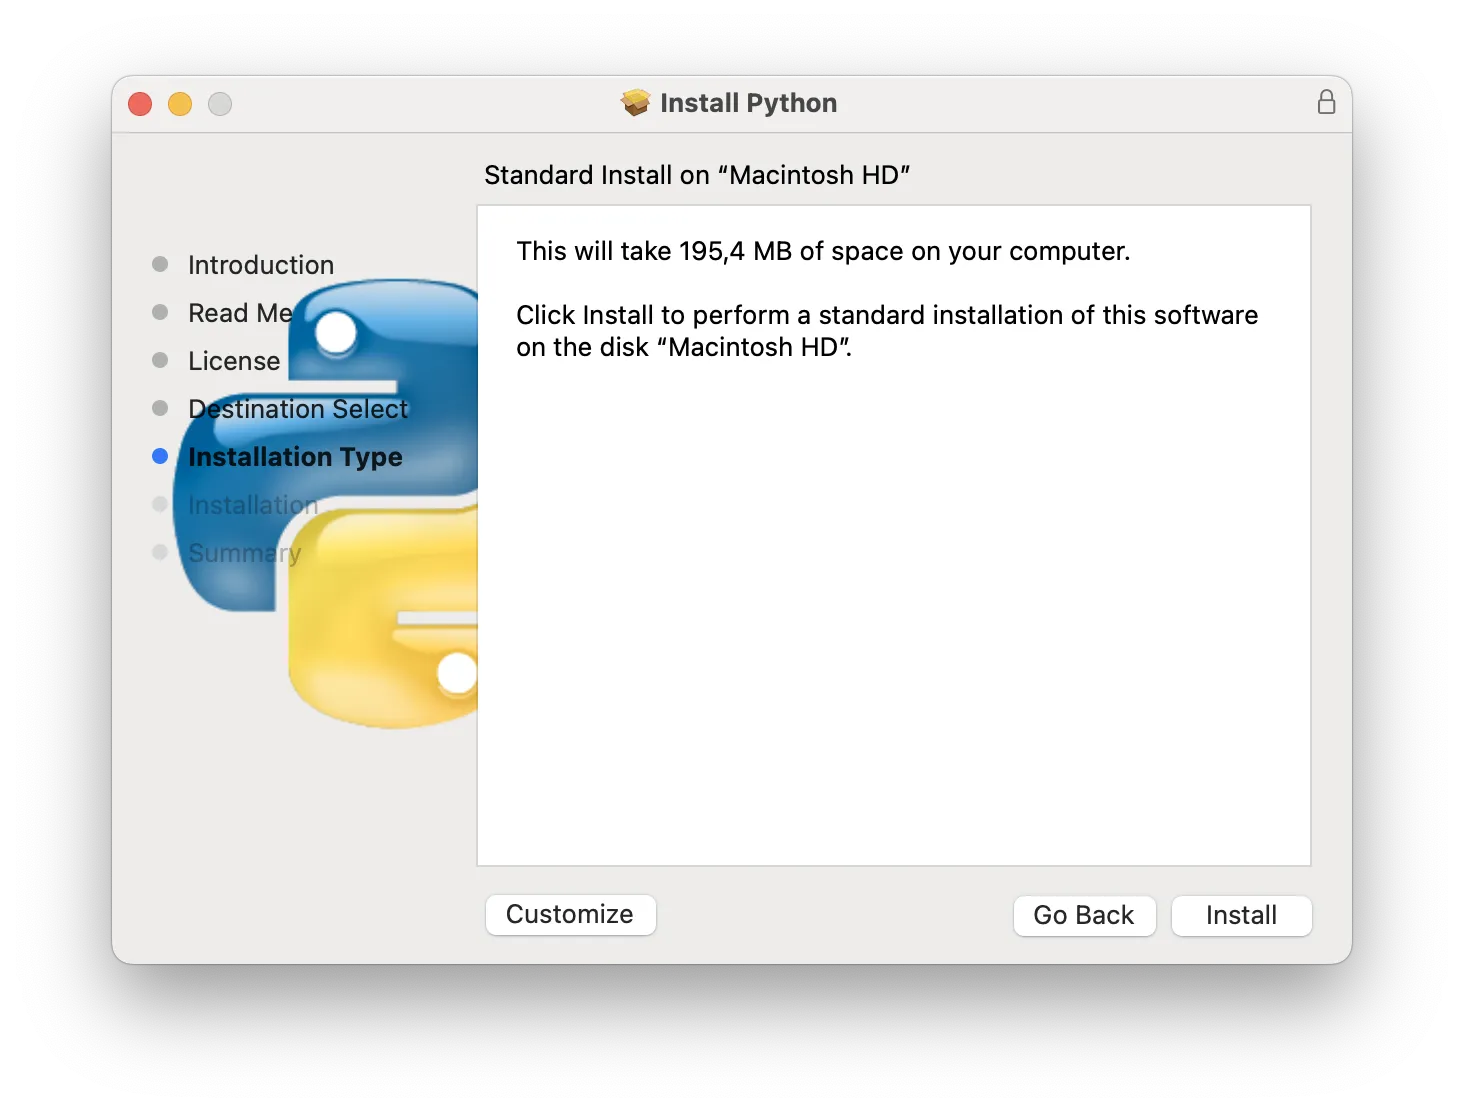
macOS ships with an outdated Python version. Therefore, you should download the latest release from the official website. The steps below show you how.
- Visit python.org/downloads/mac-osx.
- Download the .pkg installer.
- Run it and follow the on-screen instructions.
- Open Terminal and type:
python3 --version.
Install Python on Linux (apt, dnf, pacman)
Most Linux distributions include Python by default. However, if Python is missing, you can install it using the commands below.
sudo apt update
sudo apt install python3
python3 --version
Additionally, Fedora users can use dnf, and Arch users can use pacman. After installation, Python will be available system-wide.
Install Python pip and Verify Installation
pip is Python’s package manager. It allows you to install libraries quickly. Therefore, it’s important to verify that pip is working correctly.
python -m ensurepip --upgradeThen test pip:
pip --versionRun Your First Script After You Install Python
Now that Python is installed, you can run your first script. For example:
- Create a file named
hello.py. - Add:
print("Hello, Python!") - Run it with
python hello.py.
Editor & Environment Tips for Python Users
To improve your workflow, you should use a good editor. For example, VS Code and PyCharm provide linting and debugging. Additionally, virtual environments help you keep dependencies organized.
- Editor: VS Code or PyCharm.
- Virtual environments:
python -m venv .venv - Package installs: Use
pip install. - Upgrading:
python -m pip install --upgrade pip
Final Thoughts
When you install Python correctly, you can build scripts, automate tasks, develop web apps, and explore data science. Additionally, practicing daily will help you improve faster. Start with small projects and gradually take on more advanced tasks.