Simple Docker Install on Windows (2025) – What You Need to Know
If you want to run containers reliably, the fastest method is to install Docker on Windows using Docker Desktop. This guide starts with the essential steps and explains why each action matters. As a result, you will enable virtualization, prepare Windows features for WSL 2, install Docker on Windows safely, and verify everything with a quick test.
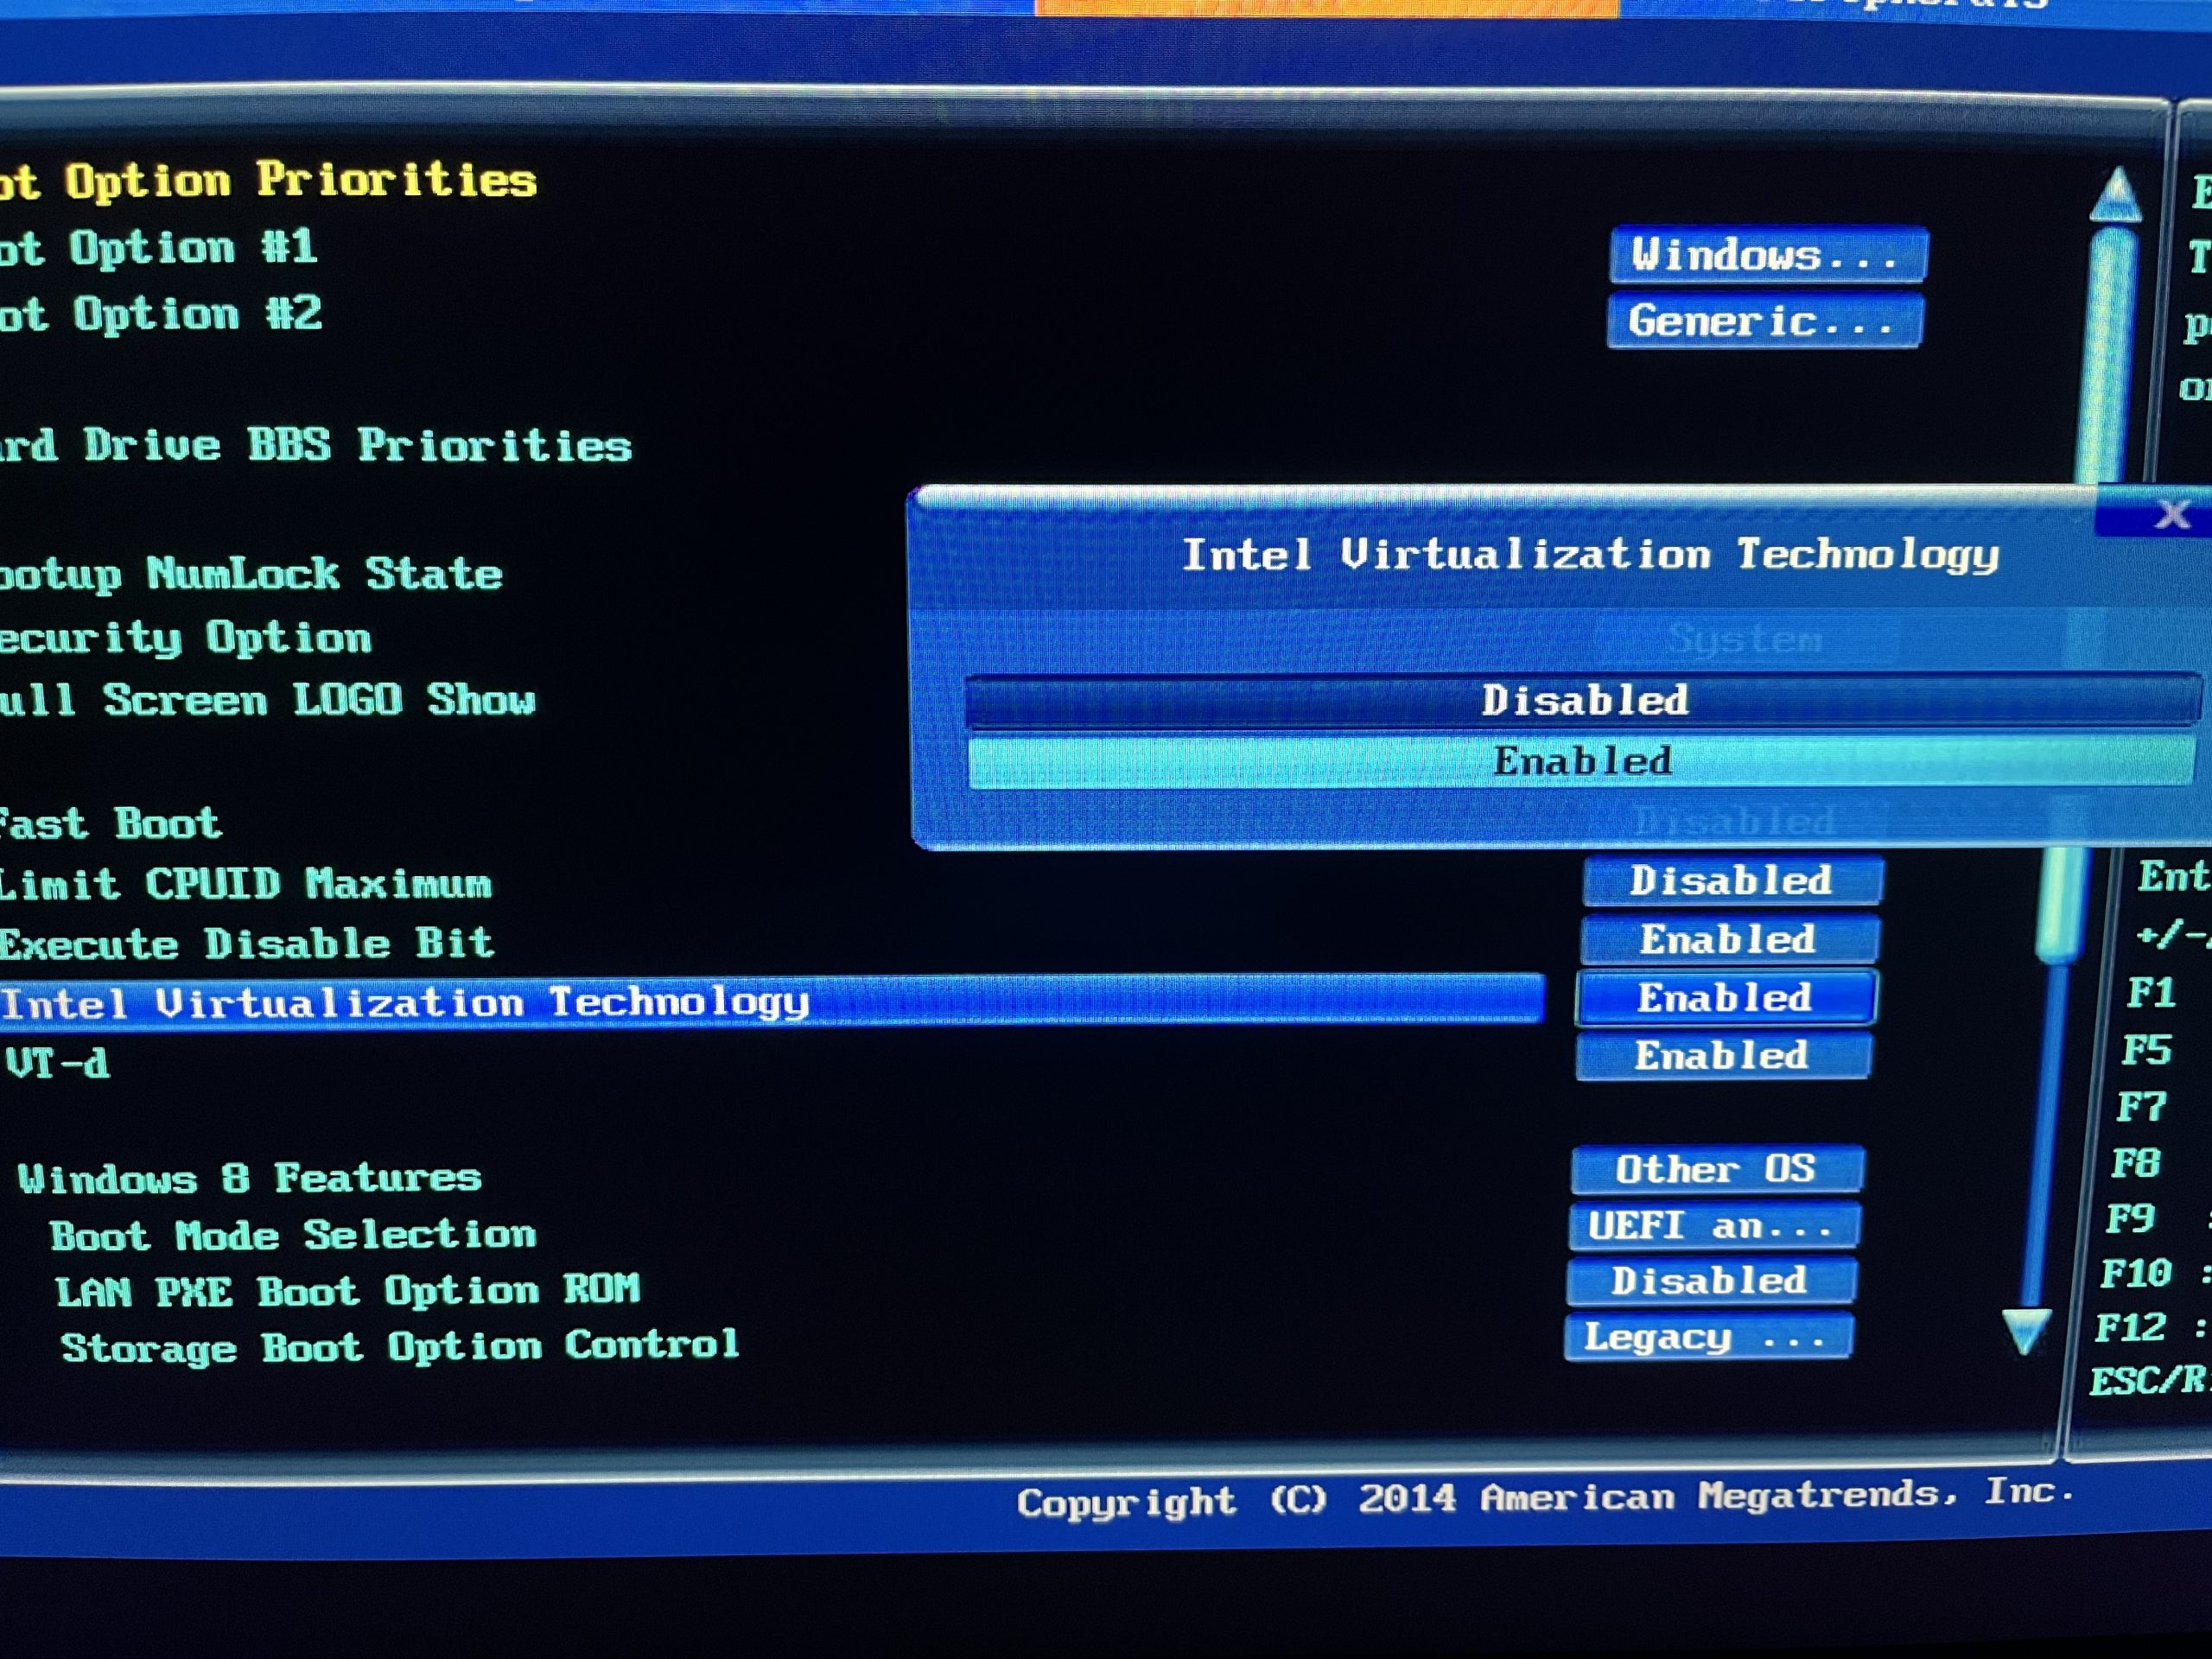
Table of Contents
Step 1 — Enable Virtualization to Install Docker on Windows
To run containers efficiently, Docker relies on hardware virtualization. Restart your PC, open BIOS or UEFI (usually F2, Del, or F10), and enable Intel VT-x or AMD-V. Once enabled, Docker Desktop can start properly and avoid boot warnings.
Quick check: Run this PowerShell command:
systeminfo | find "Virtualization"
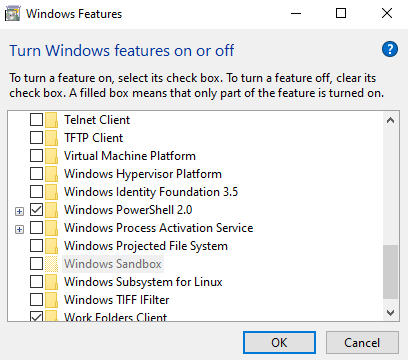
Step 2 — Turn On Required Windows Features
Next, open the Start menu and search for Windows Features. Then enable:
- Windows Subsystem for Linux (WSL)
- Virtual Machine Platform (VMP)
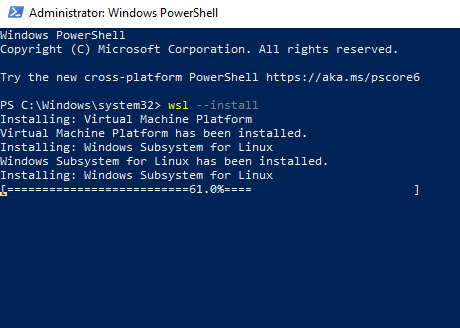
Step 3 — Install WSL 2
WSL 2 provides a lightweight Linux kernel with near-native performance. Therefore, it is required before you install Docker on Windows.
wsl --install
wsl --set-default-version 2
wsl --install -d Ubuntu
Step 4 — Install Docker Desktop on Windows
Download Docker Desktop and keep the WSL 2 option enabled:
Alternatively, install via Winget:
winget install --id Docker.DockerDesktop -e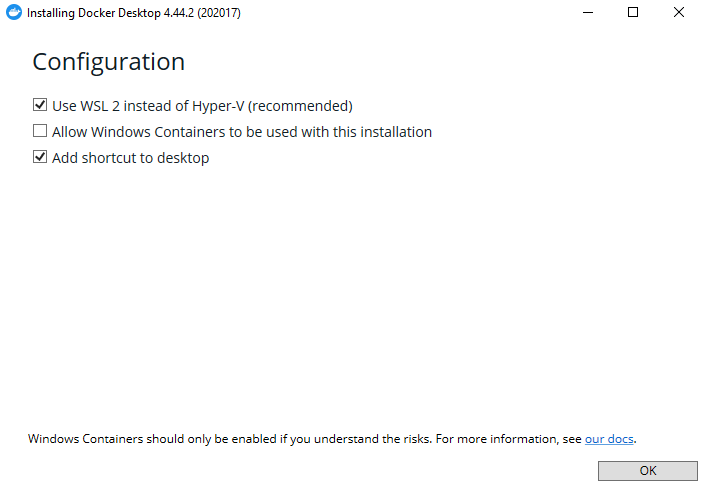
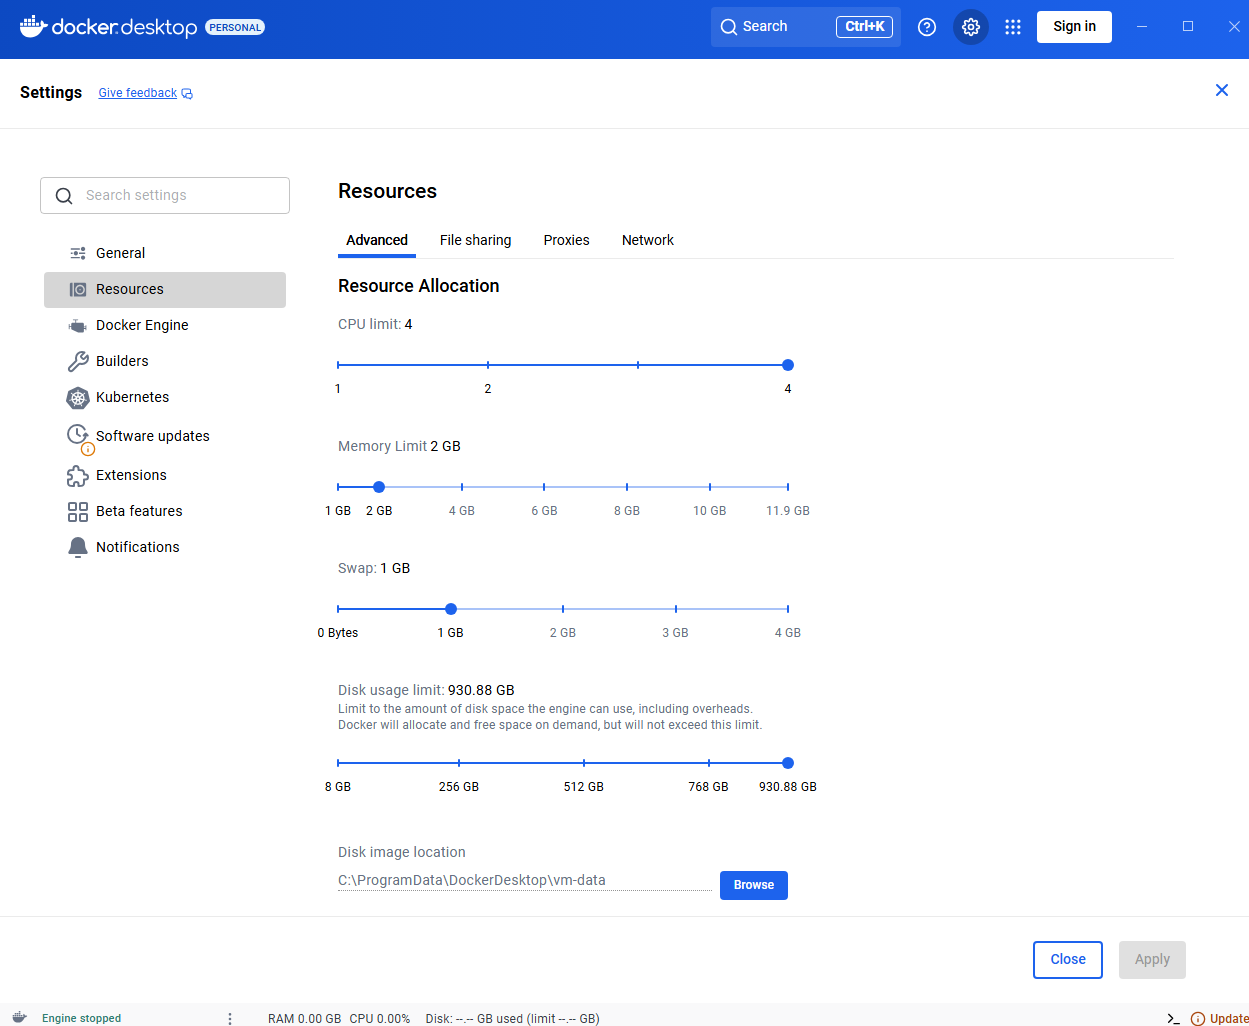
Step 5 — First Run & Settings
After installation, open Docker Desktop and review:
- Resources → CPU/RAM for container performance
- WSL Integration to enable Ubuntu or other distros
- Proxies if you use a corporate network
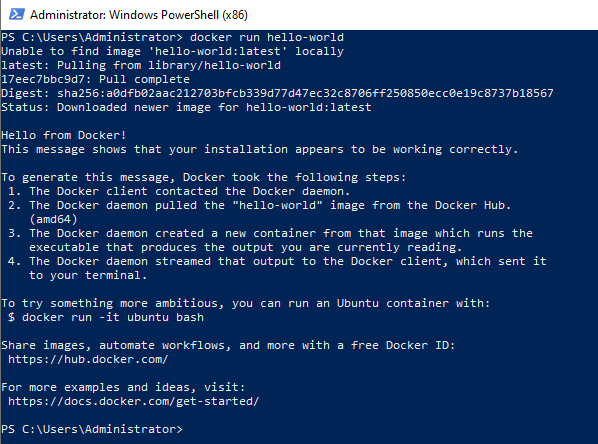
Step 6 — Verify Installation
Run a quick test to confirm everything works:
docker run --rm hello-world
docker run -it --rm alpine sh
Troubleshooting
- Virtualization error: Enable VT-x/AMD-V in BIOS.
- WSL kernel outdated: Use
wsl --update. - Slow performance: Prefer SSD paths and WSL-based directories.
- Pull failures: Configure proxy settings if necessary.
- Last resort: Reset Docker Desktop to defaults.
FAQ: Install Docker on Windows
Do I need Hyper-V?
WSL 2 is preferred and works on Windows Home and Pro.
Does this work on Windows Home?
Yes. WSL 2 enables full Docker Desktop support.
How do I fix WSL kernel errors?
Run wsl --update and restart Docker Desktop.
How do I check virtualization?
Run systeminfo in PowerShell.
Related Resources
Final Thoughts
By enabling virtualization, configuring WSL 2, and installing Docker Desktop, you now have a stable environment for running containers. Following these steps to install Docker on Windows ensures smooth performance and fewer errors. You can now explore Docker Compose, volumes, multi-container setups, and advanced networking.