How to Clear DNS Cache in Windows & Mac (2025 Guide)
Clear DNS Cache regularly to fix websites loading with outdated IPs, slow responses, or redirect issues. When you flush your DNS, your computer deletes saved address lookups and requests new ones from DNS servers. This process often resolves browser errors and improves internet performance instantly without affecting personal files.
What Is DNS Cache and Why Clear It?
The DNS cache is a small local database that stores the results of previous website lookups. It speeds up browsing, but when outdated, it can lead to wrong or unreachable websites. Clearing it forces your device to refresh information and use accurate IP addresses. For deeper understanding, see Google Public DNS Documentation.
- Websites not loading or showing outdated content
- Domains that moved to new servers but still show old data
- DNS settings changed but system keeps old cache
- Suspicious redirects or connection drops after malware cleanup

How to Clear DNS Cache in Windows
These steps apply to both Windows 10 and Windows 11. If you’re on a company-managed computer, run the Command Prompt as Administrator for full access.
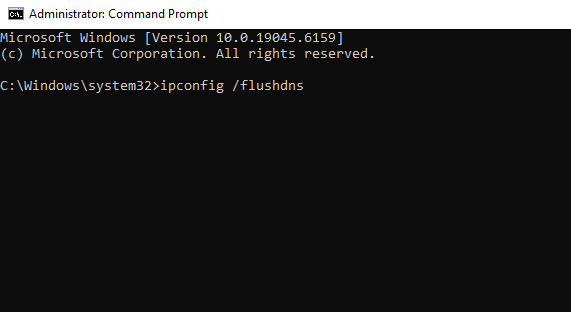
- Press Windows + R, type
cmd, and hit Enter. - Type this command to flush DNS cache:
ipconfig /flushdnsYou should see this confirmation message: “Successfully flushed the DNS Resolver Cache.”
Optional Windows Tips
- View entries:
ipconfig /displaydns - Renew IP:
ipconfig /releasethenipconfig /renew - Reset network stack:
netsh winsock reset→ reboot
How to Clear DNS Cache on macOS

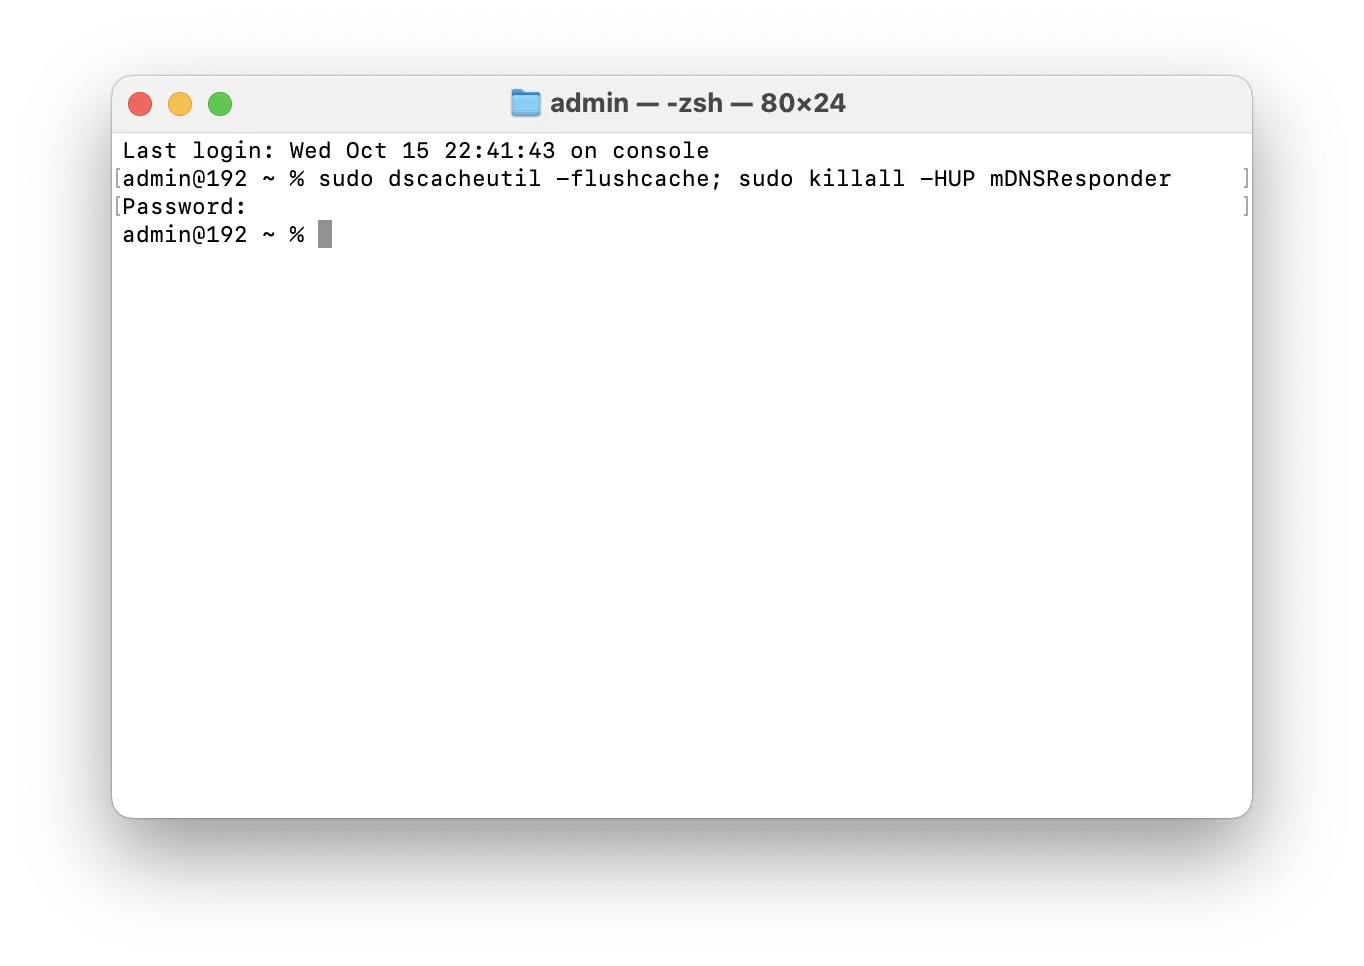
Use Terminal to flush DNS cache on macOS Monterey, Ventura, and Sonoma:
sudo dscacheutil -flushcache; sudo killall -HUP mDNSResponderAfter running this command, toggle Wi-Fi off and back on. Apple details this method in its official DNS cache clearing guide.
Older macOS Versions
- Sierra → Big Sur:
sudo killall -HUP mDNSResponder
When Should You Clear DNS Cache?
- After switching DNS providers (Google 8.8.8.8 or Cloudflare 1.1.1.1)
- After migrating hosting or updating domain records
- When websites resolve incorrectly or slowly
- Following malware cleanup or security scans
Troubleshooting After Flushing
- Check name resolution: Windows →
nslookup example.com; Mac →dig example.com - Restart browser: Each browser has its own cache, so restart fully.
- VPN/DHCP issues: Reconnect or renew your IP lease.
- Hosts file overrides: Remove old manual mappings.
Improve Performance After Flushing
Clearing DNS cache is the first step toward faster, safer browsing. For consistent performance:
- Use Google DNS (8.8.8.8 and 8.8.4.4)
- Or Cloudflare DNS (1.1.1.1 and 1.0.0.1)
- Periodically clear browser cache as well
- Avoid using multiple VPN layers that slow queries
FAQ: DNS Cache Clearing
Q: What does clearing the DNS cache do?
A: It deletes saved DNS lookups, forcing your system to retrieve fresh IP data from servers, often fixing website errors.
Q: Will flushing DNS delete my browsing history?
A: No. It only clears DNS records, not browser history or cookies.
Q: How often should I clear the DNS cache?
A: Every few weeks or whenever websites load incorrectly or show old data.
Q: Does clearing DNS improve internet speed?
A: It can reduce latency caused by outdated or corrupted DNS entries, improving response time slightly.
Q: Is it safe to clear DNS cache on Windows or Mac?
A: Yes. It’s a completely safe maintenance step that doesn’t affect personal files or installed software.
Final Thoughts
Learning how to clear DNS cache in Windows and Mac helps fix most connection and speed issues in under a minute. It’s a simple but powerful command that every user should know. If you still experience DNS problems, verify the domain’s authoritative records or test from another network. See more how-to articles in our Windows maintenance guides.
