
To clear system storage Mac space safely, start by identifying what macOS includes under System Data. This category can contain caches, logs, local Time Machine snapshots, temporary files, app support data, backups, and files that do not fit another storage category.
System Data cannot be emptied with one button, and a large value does not always mean something is wrong. The safest approach is to use Apple’s storage tools first, remove files you recognize, review backups and applications, and allow macOS to manage temporary system files.
Quick Answer
Use this order to clear system storage Mac space without deleting important system files:
- Open System Settings → General → Storage.
- Restart the Mac and wait for the storage categories to recalculate.
- Review Applications, Documents, Downloads, Messages, Mail, and iOS device backups.
- Empty the Trash after confirming that the files are no longer needed.
- Use Apple’s storage recommendations where they fit your workflow.
- Review Time Machine local snapshots only when available space is genuinely low.
- Use Safe Mode for temporary cache cleanup instead of deleting system caches manually.
- Recheck Storage after macOS finishes indexing and background cleanup.
Back up important files before removing large amounts of data. Storage cleanup is not a substitute for a working backup.
Video: Clear System Storage Mac Space Safely
The video below covers Storage settings, large files, application data, local snapshots, Safe Mode, and the final free-space check.
1. Check System Data and Available Space
On macOS Ventura 13 or later, open:
Apple menu → System Settings → General → Storage
On earlier macOS versions, use Apple menu → About This Mac → Storage. The storage view shows available space and categories such as Applications, Documents, Photos, Messages, Mail, Trash, and System Data.
Apple describes System Data as a general category for Apple and third-party files that do not belong to a more specific category. It can change while macOS indexes files or reclassifies storage.
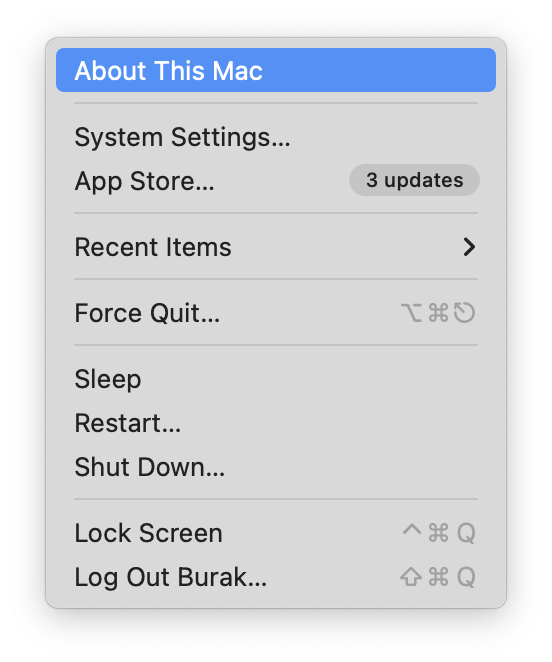
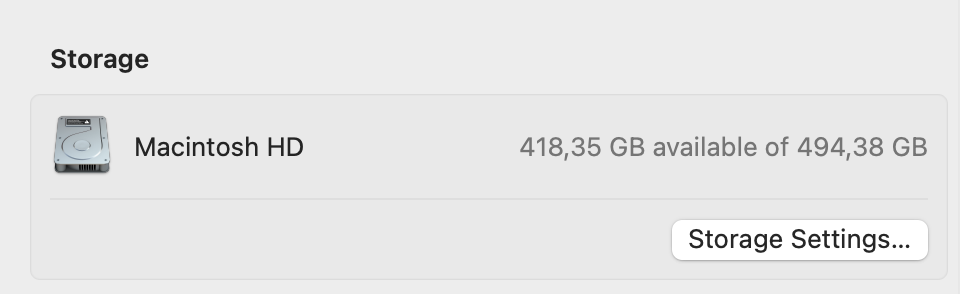
Record the available-space value before making changes. Do not judge the result only by whether System Data becomes smaller; the more useful measurement is whether usable free space increases.
Apple’s official Mac storage guide explains the current Storage settings and the types of files that can be reviewed.
2. Restart the Mac and Let Storage Recalculate
A normal restart can remove temporary data, close background processes, and allow storage categories to refresh. After restarting:
- Sign in and wait a few minutes.
- Open System Settings → General → Storage.
- Allow the storage graph to finish calculating.
- Compare available space with the earlier value.
The category sizes may continue changing while Spotlight, Photos, iCloud, or other services process files. A temporary change in the System Data number is not automatically a storage failure.
3. Remove Large Files, Apps, and Old Backups
To clear system storage Mac space effectively, remove identifiable files before targeting hidden system data.
Applications
Open the Applications category in Storage settings and uninstall software that is no longer required. Some professional tools, games, development environments, and media applications can consume many gigabytes.
Documents and Downloads
Review disk images, ZIP archives, installers, exported videos, virtual machines, old projects, and duplicate downloads. Move important archives to another storage device before deleting them from the Mac.
iPhone and iPad Backups
Local device backups can be large and may be overlooked. In Finder, select the connected device, open General, and use Manage Backups to review old backups. Delete only backups that are no longer required.
Mail, Messages, Photos, and Media
Review large attachments and downloaded media. Do not delete Photos library contents from Finder unless you understand how the library and iCloud synchronization are configured.
After moving files to the Trash, empty it to make the space available.
For more macOS articles, open the SupportSolved macOS help section.
4. Use Apple’s Built-In Storage Tools
Open System Settings → General → Storage and review the available recommendations. Depending on the Mac and enabled services, the options can include:
- Store in iCloud: Stores supported Desktop, Documents, Photos, Messages, and other content in iCloud.
- Optimize Storage: Can remove watched Apple TV media and retain only recent Mail attachments when space is needed.
- Empty Trash Automatically: Removes items that have remained in the Trash for more than 30 days.
- Category details: Helps locate large applications, documents, messages, media, and other removable files.
Review the effect before enabling an iCloud option. Optimized files remain accessible, but downloading full originals later requires an internet connection and enough iCloud storage.
Apple’s Optimize Storage documentation describes what each built-in recommendation changes.
When a development environment is occupying storage, review old installers and environments carefully. The SupportSolved Python installation guide provides context for Python installations across macOS and other platforms.
5. Review Time Machine Local Snapshots
Time Machine can create local snapshots on an APFS startup disk. These snapshots allow recent files to be restored while the normal Time Machine backup disk is disconnected.
To list local snapshots in Terminal:
tmutil listlocalsnapshots /Do not assume that every listed snapshot must be deleted. Apple states that local snapshot space is counted as available storage and that macOS automatically removes snapshots as they age or when space is needed.
When you genuinely need to remove them manually, Apple’s supported method is:
- Open System Settings → General → Time Machine.
- Select Options.
- Change the backup frequency to Manually.
- Wait a few minutes for local snapshots to be removed.
- Restore the preferred automatic backup frequency.
Review Apple’s Time Machine local snapshots guide before changing backup behavior.
6. Clear Cache Files Safely
macOS automatically clears caches and logs that are safe to remove when storage is needed. Bulk-deleting everything inside ~/Library/Caches or /Library/Caches is therefore not the best first step.
For temporary cache cleanup, Apple recommends starting the Mac in Safe Mode. Safe Mode clears certain system caches that macOS can recreate later. Restart normally after completing the storage-related task.
When one application has an unusually large cache, close that application and use its own cleanup, download-management, or reset settings when available. If manual removal is required, delete only files you can clearly associate with that application and keep a backup.
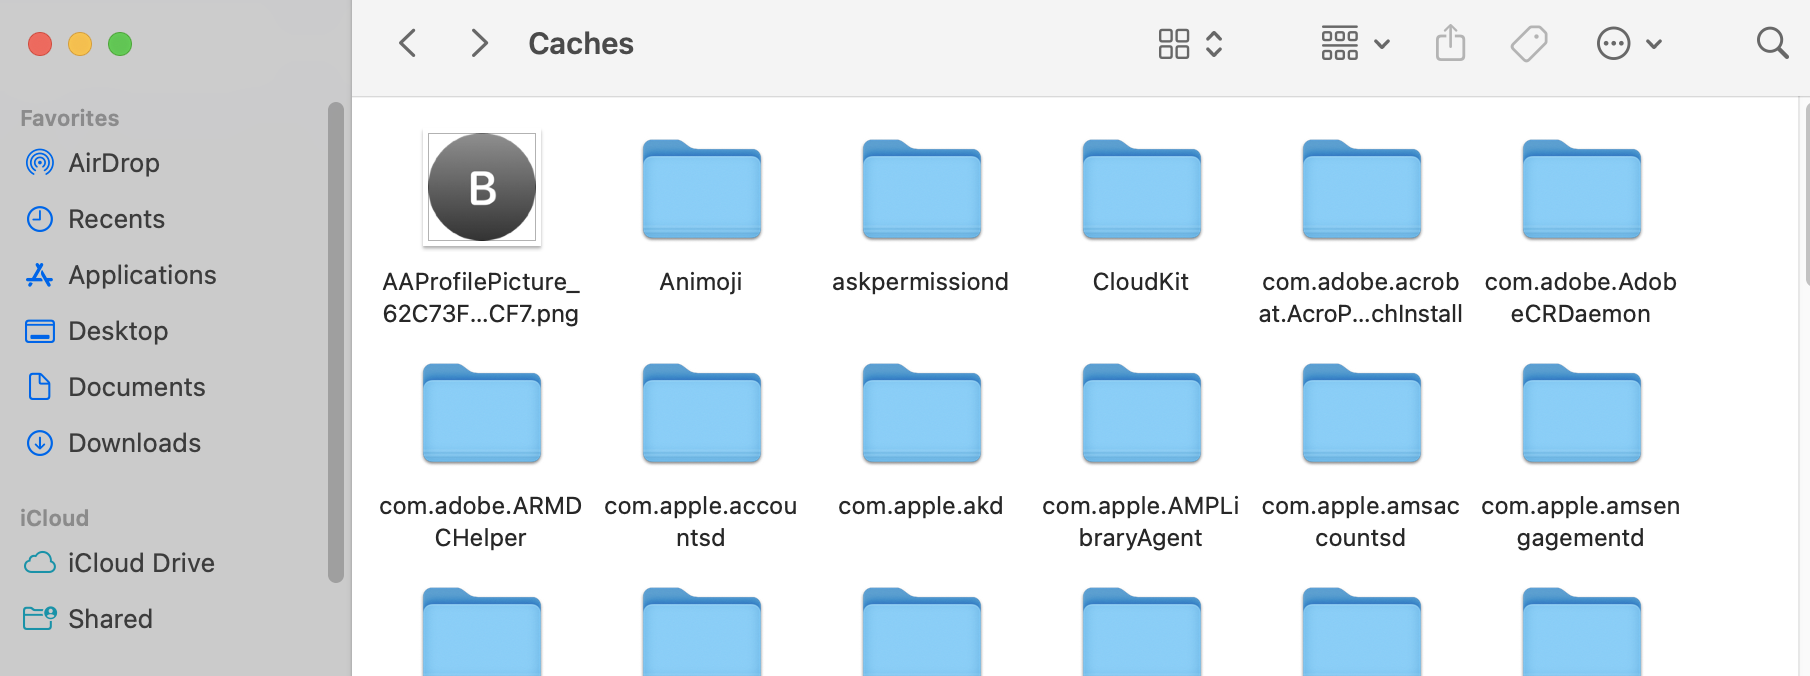
Never remove files from /System to clear system storage Mac space. System Integrity Protection and macOS security controls exist to protect critical operating-system files.
7. Clear System Storage Mac Space and Verify the Result
After cleanup:
- Restart the Mac normally.
- Open System Settings → General → Storage.
- Wait for the categories to finish calculating.
- Compare the available-space value with the original baseline.
- Open important applications and confirm that required files are still available.
- Run or verify the next Time Machine backup.
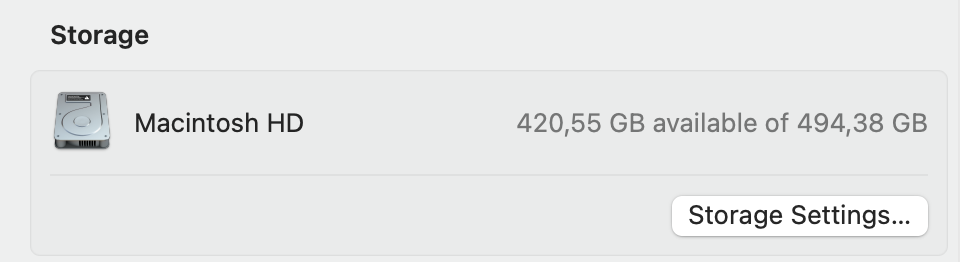
If you still cannot clear system storage Mac space, inspect the largest visible categories again. A third-party application, virtual machine, local backup, media library, or another user account may be responsible for the usage.
Frequently Asked Questions
Why is System Data so large on my Mac?
System Data is a broad category that can include caches, logs, app support files, local snapshots, backups, temporary files, and data that macOS has not assigned to another category. Its size can change while storage is recalculated.
Can I delete the System Data category directly?
No. It is a storage classification rather than one folder. Free space by removing identifiable files, old backups, unused applications, downloads, and other content through supported tools.
Should I delete all cache files?
No. macOS manages many caches automatically. Use Safe Mode for temporary system-cache cleanup and remove an application cache manually only when it is clearly identified and the related application is closed.
Do Time Machine snapshots reduce usable storage?
Apple counts local snapshot space as available and removes snapshots automatically when space is needed. Manual removal is usually unnecessary unless the Mac is genuinely short of working space.
Why does the storage number change after I clear system storage Mac space?
macOS may continue indexing, syncing, deleting temporary data, and reclassifying files. Wait for background activity to finish and compare the available-space value again after a restart.
Summary
The safest way to clear system storage Mac space is to remove files you can identify, use Apple’s built-in storage recommendations, review old applications and backups, and let macOS manage temporary system files.
Time Machine local snapshots normally manage themselves, and macOS already clears safe caches when space is needed. Use manual cleanup only for a specific, understood source of storage usage.
Measure success by the increase in available storage, not only by the size of the System Data category. Keep a current backup and avoid deleting unfamiliar files from protected system locations.
